Wednesday, May 30, 2012

Panel Front A-line Tutorial (with grossgrain ribbon and large rick-rack)


I've been meaning to do a tutorial on this dress for awhile, but finding time to set it up on here........well that can be a problem sometimes. Several customers at the shop have asked me how I do this because I always make them for sample garments. I love making them cause it's so quick and simple to do but it shows off the fabrics so well. At first I thought there was no need to do a tutorial on it cause I thought it was too simple and most sewers could figure it out, but we have alot of beginning sewers that need just a little guidance. So here you go ladies! You asked and I listened!


Use any A-line pattern you may have on hand. My personal favorite is "Charlotte" and I always make it with the one button opening in the back( I have an earlier tutorial on how I do that).
Begin by cutting your front pattern piece from your face fabric and clip your center front at the bottom hem and at the neck by making a small clip with your scissors.

Cut a panel of fabric about 4" wide or less for your mock panel piece.Be generous with the length of this panel. It's best to be at least 1" above the shoulder seams and below the hem( you will cut this off later on).

 Start by top stitching your grossgrain ribbon to your fabric panel matching the edge of your ribbon to the raw edge of the fabric.

 After you have sewn the first side of your ribbon, lay out your panel on your dress front and decide about how wide you would like your panel to be. Don't fret on trying to be perfect with this, because there's no right or wrong.I've made my panels all different sizes and they have all turned out great no matter what size I decided on. For me, it depends on the dress size you are making, the fabric you are working with, and how large the buttons are you have chosen for your project. Above is a picture of how I decided on where I was to cut mine. Once you have made your cut, topstich the other strip of grossgrain trim to the other side of your fabric panel.
 Lift up your sewn ribbon and trim the fabric underneath about 1/2" off.
 Slip your giant rick-rack underneath the outer edge of your grossgrain ribbon and stich it in place by topstiching  through the ribbon.While sewing, try to align the rick-rack so that there is about 1/8" or slightly less in the "valley" of your rick-rack. Sew the other long side of panel in the same manner.
 Press your panel on a fluffy towel so that the rick-rack teeth don't make an impression underneath the ribbon.
 Next, you are ready to center and pin in place your panel to the front of the dress. The way I position my panel is to fold in half lengthwise to find the center( of the panel) at the top and the bottom, mark, and then line these markings up with my center front marks I made on the dress earlier.
Now you're ready to take it to your machine and topstich. This time you are going to topstich on the edge of the rick-rack.

Turn your dress front right side down and trim the panel piece down to match your neck line.
Cut the excess off down at the hem also.
Cut off the extra fabric that is underneath the panel. Now this part is optional. Sometimes I leave the extra fabric underneath if I don't see the print from the top.

Now you are ready to finish the dress using the pattern instructions.

Beach Getaway for Memorial Day weekend


Just had to share the pictures of the girls in there mermaid dresses from this past weekend trip to the beach.

 We only stayed for two days so we missed Tropical Storm "Beryl". The girls loved the beach, even though the giant waves scared them a bit.
If anyone is interested in the dresses I made for the girl's beach pictures in here- The pattern I used is "Analise" by Portabellopixie Boutique. The fabric is white chantung linen by Spechler/Vogel. The mermaid design is from www.emblibrary.com
Contact the Sew Blessed shop to ask for the ladies to put together a kit for you to make this at www.sewblessedfabric.com


Hope everybody had a wonderful Memorial Day weekend!

Thursday, April 21, 2011

Guest room 2

Here is my 2nd guest room I've finally finished decorating. Yay!!! I'm so proud of how it turned out even though I'm a little concerned that it might be too wild for selling the house......oh well, I had fun doing it! And the walls ARE neutral. This room used to be a catch all for my leftover junk. I didn't want to get rid of the pieces so I worked with them instead.It started with my cheap white Ikea curtains with the idea of adding a splash of color to the bottom hem because I knew the curtains were not long enough. The large snowball light fixture is another purchase from Ikea. I can't believe I bought this gigantic thing. I had to laugh at myself while I was hanging it. You have to admit, it is fun!


Here's a close-up of the flower arrangement I created for the window side table.


The side table looked so boring with nothing under it so I decided to make these large storage bags to add some color, and storage underneath the table.


This will probably be my color scheme for my next sewing room so I took plastic bins that stored some of my sewing asscesories and made bags to fit them. Great storage and the white container tops help hide what's in there.


Pillows I made for the room. Sorry for the cheesy rainbow "what does this mean?" pillow in the center. That video makes me laugh everytime I watch it. The design is from www.urbanthreads.com


The framed unibicycle embroideries are one of my favorites. They are from www.emblibrary.com I did change the colors around so that there was not as much shading in the design.

Ikea Billy bookcases with fabric covered doors.


This poor lamp has been 5 different colors now. I think she shines once again in the color pink.


I already had these button frames so I reused them. Mom bought me these antique glove dryers years ago.....and I've never done anything with them . Soooooo, why not wall art! Ta-da!


That's it for now! Hope everybody had a great Easter and I especially hope everybody was safe from those horrible storms we had last night and this morning.

Monday, April 18, 2011

Red,White and Blue article

Before I wait too much longer to let everyone know about this,my Salute to America article is out right now in the latest Sew Beautiful issue. So go check it out!

Here's the bubble that will be available as a kit in the store webstore. This beautiful sailor dress will also be available as a kit in the webstore also. Thank you Sue for making me these to show everyone what they look like made up.

My bedroom and bath

Ok, I feel kind of nervous about this post cause this room is so personal. This is my bedroom. This is where I lay my head down every night and sometimes can't sleep cause my creative brain is still dreaming of more stuff to make! And this is little ol me! I thought I'd finally post a picture on here of me since this was about MY bedroom.
My own bedroom has always been such an eyesore since I've lived here(about 10 years now). It's sort of an odd layout. I've tried moving my furniture around several times to see what works best, but this, I think is my favorite. Not perfect, but it is a BIG improvement. Sorry for all the post on my house decorating. But that's just what I have been up to lately. Hope to be done soon and back to sewing more cute kids clothing. I thought some of you might enjoy seeing what my place looks like. Whenever there are local house tours, I try to go cause I think it's so much fun to see how other people decorate their homes. Take note of all my decorating magazines too! I guess it's one of my guilty pleasures!


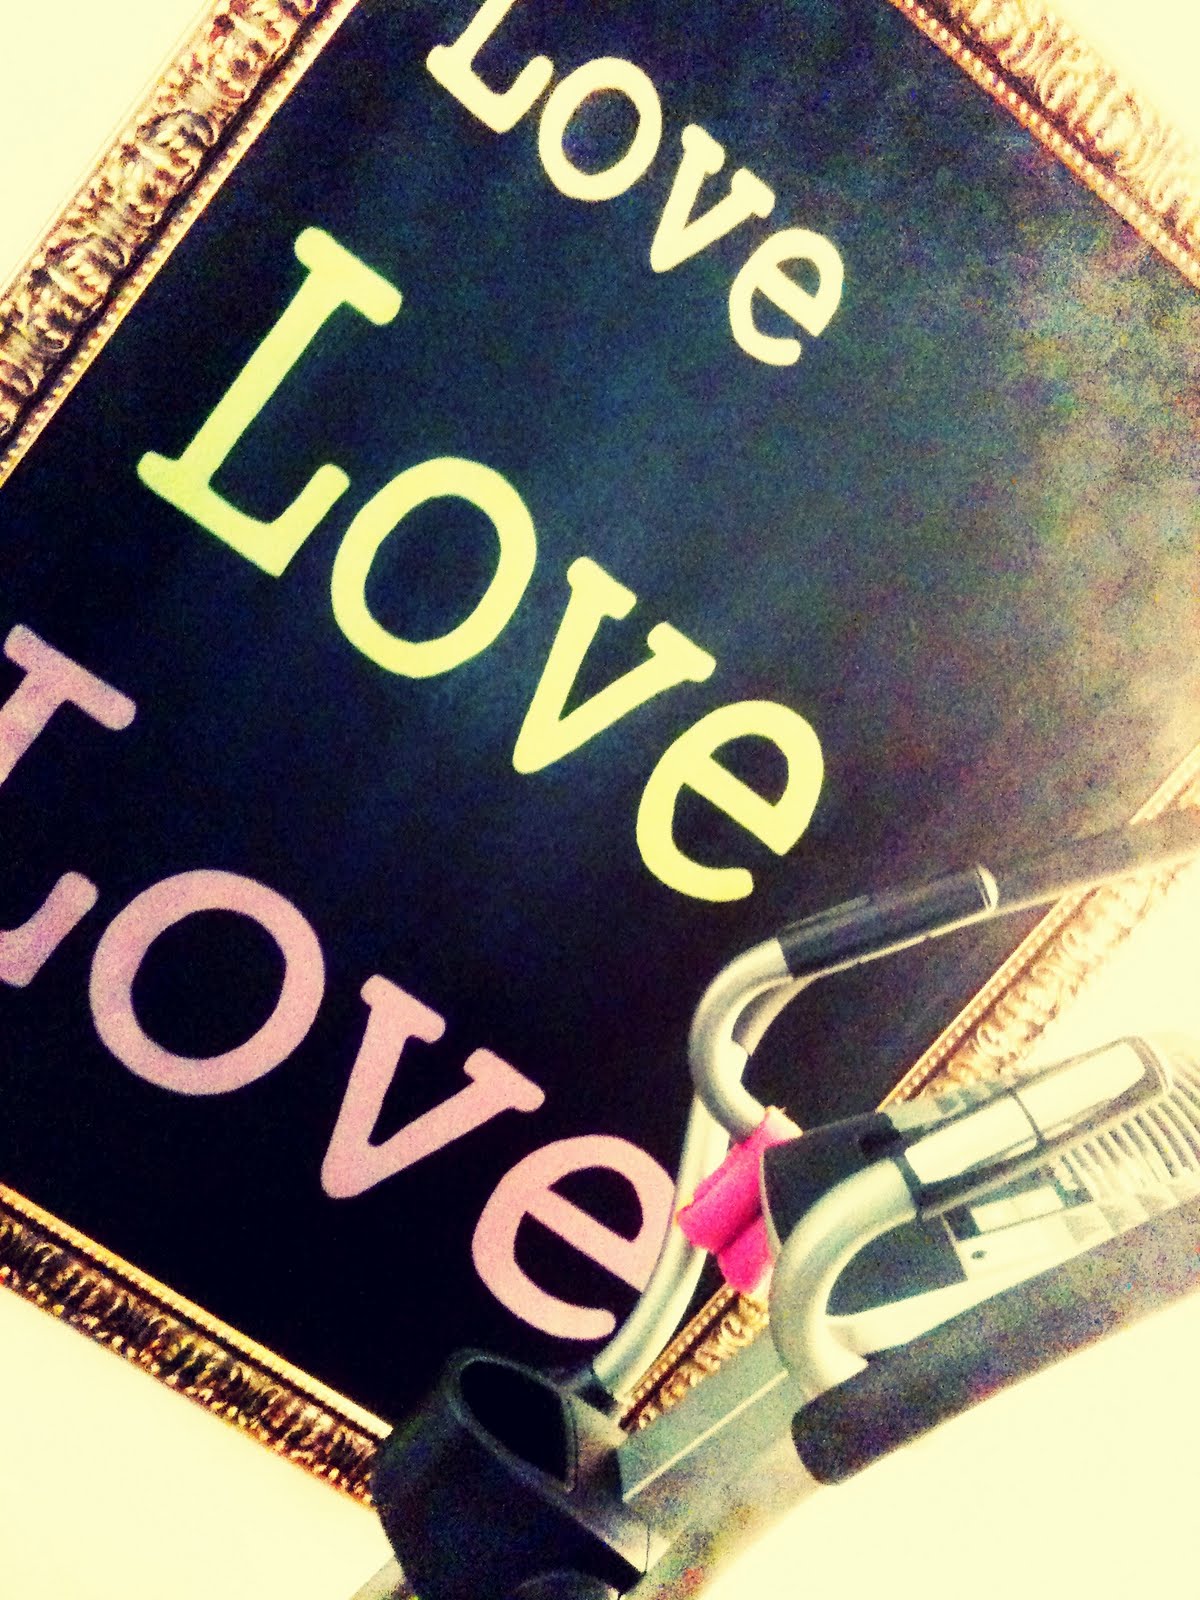
The "Love love love" pic used to be a formal oil painting of fruit that I snagged from my parent's old house. I still can't believe mom let me paint over it. She was nervous about it but she said she enjoys seeing how I repurpose her old stuff.

Can't believe I'm posting a pic of my toilet! How embarrassing.
Wish I had taken a before picture of this bath. It was bad! I painted almost everything in here. It was so much work!!! But it made a world of difference. Painted the cabinets,both light fixtures, all bath hardware, and touched up the wall paint. Organized the drawers so that I can keep all my makeup and hair stuff off the counters(which I should of done a long long time ago). I'm so happy this is done!

Monday, April 11, 2011

Guest room 1- Finally done!

Some of you might have been wondering why I have not posted any new outfits lately so this should explain why. I am getting my house ready to put on the market! So all those unfinished projects I kept putting off around the house, well now I have to do them. And it's been ALOT of work! You know how your own house is always an unfinished project cause you're always in search of the "perfect" look. Well, this whole process of getting my house ready to sell has opened my eyes to think differently about that. I should not think so hard about decorating. I've really just kind of "let go" and worked with the stuff I already own and you know, I love what I've come up with. Yea sure, it's not perfect. But it's finished and when I look at this room now, I finally feel at peace because it's done.Should have done this a long time ago! I've got more rooms to come, but this was the first one that I feel is completed and worthy of sharing pictures of. It's my guest room. And no, I don't live at the beach. But I love the beach anyway,so that was the inspiration for this room. I love hanging out in this room cause it sort of gives me that feeling of being there.


I needed some more art work for this wall so I came up with my own using fabric and my embroidery machine. I actually covered up art canvases that no longer went with my house decor anymore. Voila!!!